
Lately I’ve been having fun with the spectral analysis tool inside Kyma. This post is to document a quick introduction to Kyma’s Analysis Tool. Specifically, I will document how basic smoothing of frequency and amplitude augments the sonic character of a slow playback via an analysis file.
After performing an initial analysis using Kyma’s Analysis Tool (Cmd-1), and in my case, I’m doing a 256 band analysis, I look to smooth out frequencies and amplitudes separately.

The Analysis Toolbar provides many options, but the main tool we are concerned with is the Filter function.

There are several filtering options within the Filter function.
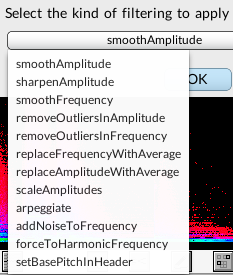
The main filter function we are concerned with is smoothFrequency and smoothAmplitude. Notice, how with two separate filters, we will have to apply one filter at a time.
The process for this exercise is simple. Apply 10 frames smoothing to Frequency, then 100 frames. Afterward, apply 10 frames smoothing to Amplitude, then 100 frames. Of course, one may try different combinations. The goal is to smooth frequencies and amplitudes in anticipation of playing the file back at a very slow playback rate.

Ten frames for smoothing is not a lot of change; one can hear subtle flutters on the low and low-mid frequencies.
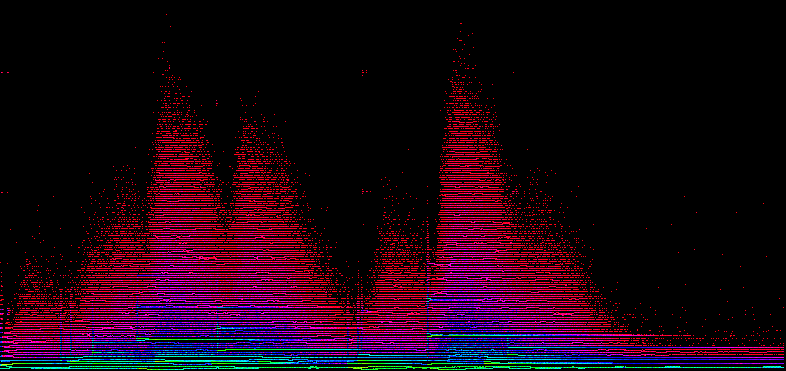
110 frames smoothing of frequency begins to sound like vari-speed delay in the system, like a clean version of wow and flutter from a tape deck. If you look closely at the lower frequencies, you can see larger sinusoids developing as a result of the smoothing, which results in some audible vari-speed sound. But we are not finished yet. Onto the smoothing of amplitudes.
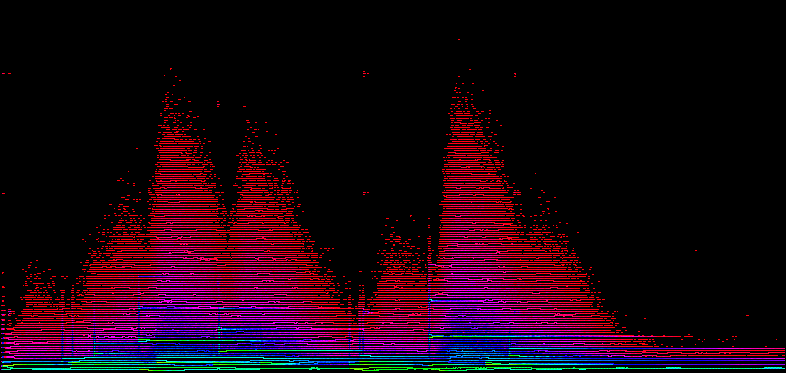
Amplitudes help the sonic character a lot. I cannot explain it. The sound is good. If I had to ultimately choose between smoothing frequencies or smoothing out amplitudes, I would choose amplitudes, hands down.

Now, after these five steps, we’re ready to pitch our audio and slowdown playback. The next two audio examples demonstrate pitch shift down one octave, and the second example demos both the pitch shift with slowing playback by 10x.
I understand that in this blog post, I’ve failed to demonstrate why smoothing augments the sonic character. In order to juxtapose this last audio file played above, which is in part the end product of the smoothing process, I’ve made one last recording. Below is an audio file of an analysis, without smoothing, played back down an octave at 10x the length. Everything is the same to the audio above, except for no smoothing.
Because the audio is slowed down but the analysis has no smoothing, you’ll hear that frequencies and amplitudes develop at a faster rate and causes, to my ear, digitization noise. By smoothing out frequencies and amplitudes in advance of the slowed playback, we create frequencies and amplitudes that develop at the speed of our playback, thus decreasing the potential to hear unnatural spectral bands, or what I would call digitization noise.
Ref: Source material comes from my piece #Carbonfeed, a work that is driven by tweets in real time.